
Want to make the ultimate personalized cookie? Use a cookie stamp. With this stamp (and with the right cookie recipe), you can tailor your cookie to say whatever you want.
Of course this gadget is especially useful during the holidays. It’s a time when 1) You’re making lots of cookies; and 2) You want to do something extra-special for your loved ones. Why not “stamp” them a message of love?
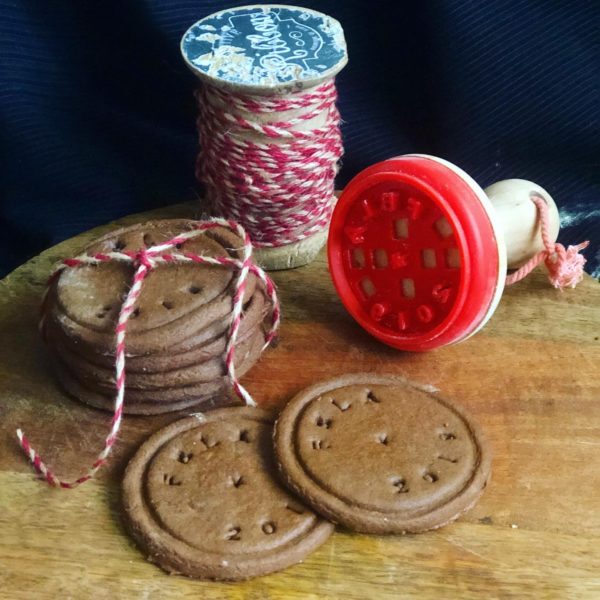
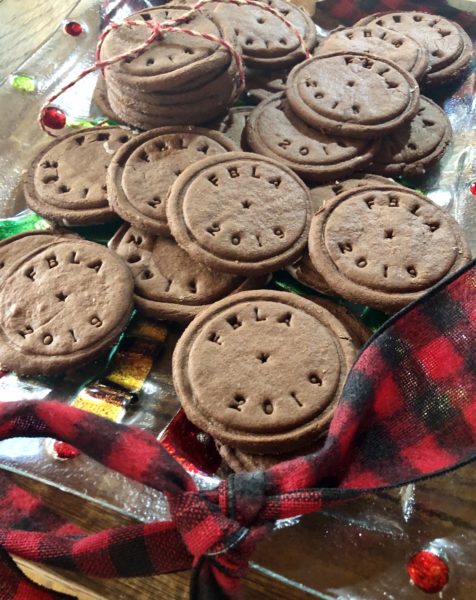
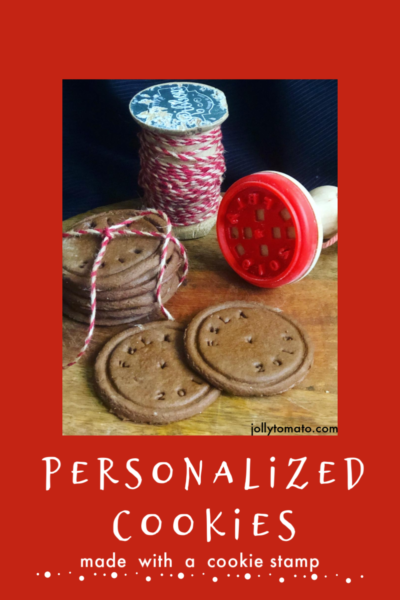
When we made these cookies, we were headed to a party with our friends at Food Bloggers Los Angeles (FBLA). So we took advantage of the opportunity to make special “FBLA 2019” cookies. For these cookies, we made a chocolate gingerbread recipe adapted from The View from Great Island.

Cocoa Ginger Cookies (Great for Stamping)
A delicious chocolate gingerbread cookie, with a dough that's firm enough to use with a cookie stamper. Adapted from a recipe by The View from Great Island
Ingredients
- 6 tbsp butter, softened
- 1/2 cup brown sugar
- 1/3 cup molasses
- 1 egg yolk
- 2 tbsp grated fresh ginger
- 1 3/4 cup flour
- 3 tbsp cocoa powder
- 1/2 tsp baking soda
- 1/4 tsp salt
- 1 tsp ground cinnamon
- 1 tsp ground ginger
- 1/4 tsp ground cardamom
Instructions
-
In a large mixing bowl, cream the butter, then add the sugar and continue mixing until well blended. Add the molasses, egg yolk, and ground ginger and blend until evenly mixed, scraping the sides of the bowl with a spatula.
-
In a separate mixing bowl, combine the flour, baking soda, salt, cinnamon, ginger, and cardamom. Slowly add these dry ingredients to the butter mixture. Blend until well combined (the dough will clump up into a ball).
-
Shape the dough into a slightly flatttened rectangle, then cover with plastic wrap and chill for one hour.
-
Remove the dough from the refrigerator and roll it out with a rolling pin on a lightly floured board. Roll the dough to approximately 1/4 inch thickness. Use a circular cookie cutter to cut circles in the dough (We used the opening of a jam jar). Then, with the cookie stamp set to your personal message, stamp each circle.
-
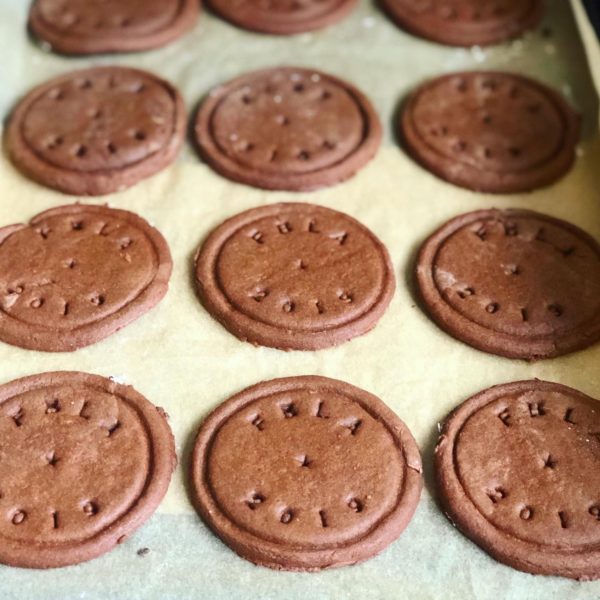
Using a spatula, carefully move the cookies onto a baking sheet lined with parchment paper. Bake the cookies at 375 degrees for 10 minutes.
To be fair, it takes a little while to get the hang of the cookie stamp. You have to press it hard enough for the design to show through. However, if you press too hard, you’ll break through the cookie. Here’s what our workspace looked like during the process. (You can see quite a few “mistake” cookies that we decided to “re-roll.”
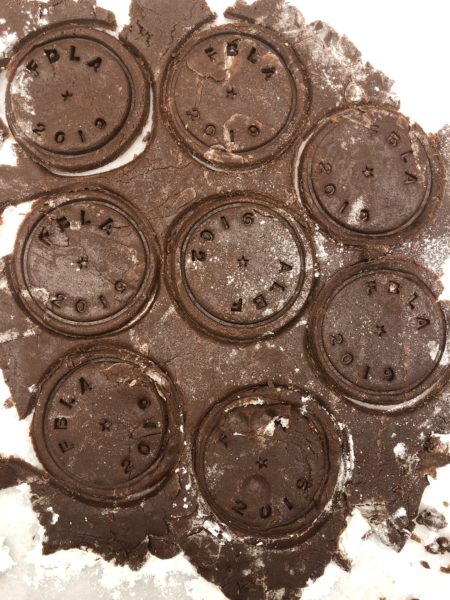
Another issue is that the dough tends to get caught in the letters that have tiny holes in them (like an “A”). We kept a toothpick on hand to clean out the cookie stamp after each use.
Last, most stamped cookie recipes require you to keep the dough chilled to get the right stamp quality. However, after several tries with different techniques, we found that the dough stamps just as well (even better, maybe?) when it’s softer.
Like it? Pin it!
P. S. Looking for another personalized cookie? Check out these Letter to Santa cookies.
Blogger disclosure: This blog post contains affiliate links for my Amazon affiliate account. All opinions expressed are my own.
 Hi! I'm Jeanne Fratello - a writer, reporter, and food enthusiast who is on a mission to write great stories about food and where your food comes from.
These are delicious and hold the stamp very well! I used Bob’s Red Mill 1-to-1 Baking Flour as our house needs to be gluten free and the dough was very easy to handle. I didn’t have any fresh ginger, so I used 1 1/2 teaspoon of dried ginger in total. This is definitely being saved as a go-to for using my cookie stamps! I might play around to make different flavors since it was so successful. Thanks for the recipe!
I love it! Thanks so much for letting me know – And thanks for the gluten-free tips! : )